
Keeping your laptop keyboard clean is more important than most people realize. Over time, dust, crumbs, hair, and even oils from your fingers collect between the keys. This doesn’t just look bad—it can affect how well your keyboard works. Sticky keys, missed keystrokes, and even hardware problems can start with simple dirt.
A clean keyboard also helps prevent the spread of germs, especially if you share your laptop or use it in public places. Many people try to clean their keyboards, but they often miss key steps or use the wrong tools, making things worse.
This guide will show you everything you need to know to clean your laptop keyboard safely and effectively, whether you want a quick touch-up or a deep clean.
Why Keyboard Cleaning Matters
You might wonder, “Is cleaning my keyboard really that important?” The answer is yes, for several good reasons:
- Performance: Dirt and debris can block keys, making typing difficult or causing keys to stick.
- Longevity: Dust and spills can damage the electronics under the keys, shortening your keyboard’s life.
- Hygiene: Keyboards carry more bacteria than a toilet seat, according to several studies. Regular cleaning helps prevent illness.
- Appearance: A clean keyboard looks better and feels more pleasant to use.
Ignoring keyboard cleaning means you risk annoying typing problems, expensive repairs, and even health issues.
Understanding Your Laptop Keyboard
Before you start, it’s important to know what kind of keyboard your laptop has. Most laptops use one of these designs:
- Island-style (chiclet) keyboards: Flat, widely spaced keys.
- Traditional (scissor-switch) keyboards: Taller keys, often with less space between them.
- Mechanical keyboards: Rare on laptops, but offer more travel and tactile feedback.
Each design affects how you clean. For example, chiclet keyboards are easier to wipe down, but debris can get stuck under the flat keys. Older keyboards with tall keys may collect more dust underneath.
Keyboard Materials And Sensitivities
Laptop keyboards are made of plastic, rubber domes, and delicate electronics. Liquids can easily damage them, and aggressive cleaning can break small parts. That’s why gentle cleaning and the right tools are so important.
Essential Tools And Supplies For Cleaning
You don’t need expensive equipment to clean your laptop keyboard, but a few basic tools make the job easier and safer:
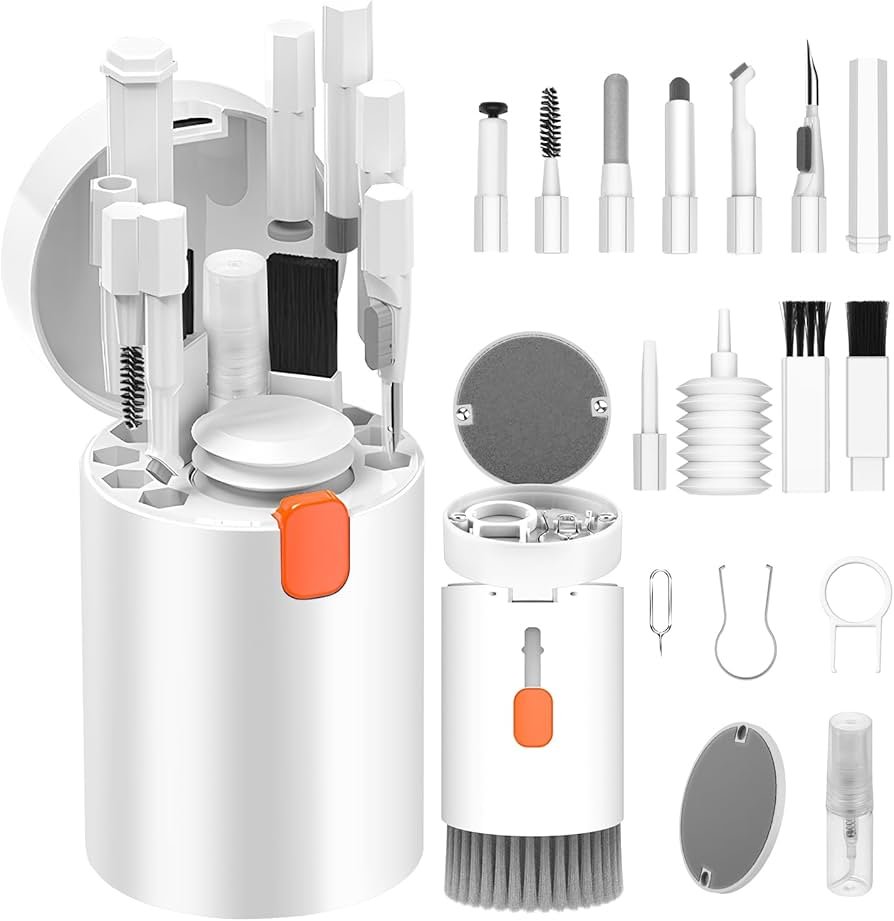
- Compressed air canister: Blasts out dust and crumbs from between keys.
- Soft-bristle brush: Removes loose debris without scratching the surface.
- Microfiber cloth: Gentle on surfaces, perfect for wiping.
- Isopropyl alcohol (70% or higher): Disinfects and dissolves oils. Do not use pure water or household cleaners.
- Cotton swabs: For cleaning around and between keys.
- Keycap puller (optional): For deep cleaning if your keys are removable. Most laptop keys are not designed to be removed often.
- Small vacuum cleaner (optional): Some handheld vacuums have soft brushes for electronics.
- Plastic toothpick or cleaning gel: Gets into tight spaces without damaging the keyboard.
Never use metal tools, bleach, or large amounts of liquid. These can cause permanent damage.
Quick Cleaning For Everyday Use
Sometimes you just need a fast way to clean your keyboard without taking things apart. Here’s how:
- Turn off your laptop and unplug it. This prevents accidental typing or damage.
- Flip your laptop upside down and gently tap it. This shakes out crumbs and loose debris.
- Use compressed air to blow out dust. Hold the can at an angle and spray between the keys.
- Brush the surface with a soft-bristle brush to remove remaining dirt.
- Wipe the keys with a microfiber cloth. If needed, lightly dampen the cloth with isopropyl alcohol.
- Dry the keyboard with a clean, dry section of the cloth.
This routine takes less than five minutes and can be done once a week. It helps prevent buildup and keeps your keyboard working well.
Deep Cleaning: Step-by-step
If your keyboard feels sticky, has visible stains, or hasn’t been cleaned in months, it’s time for a deeper clean. Follow these steps:
1. Prepare Your Work Area
- Find a clean, flat surface.
- Power off your laptop and unplug all cables.
- If possible, remove the battery (for older laptops).
2. Remove Surface Debris
- Tilt your laptop and gently tap it to remove loose crumbs.
- Use a soft brush or compressed air to clean between the keys.
3. Clean Between Keys
- Use a cotton swab dipped in isopropyl alcohol to clean around the edges of each key.
- For stubborn grime, use a plastic toothpick or cleaning gel to gently scrape between keys.
4. Clean The Key Surfaces
- Dampen a microfiber cloth with isopropyl alcohol (never soak it).
- Wipe the top of each key and the keyboard area.
- Pay extra attention to keys you use most (like spacebar, enter, and arrow keys).
5. Disinfect
- Use a fresh cotton swab or cloth with alcohol to wipe the entire keyboard again.
- Allow the keyboard to air dry for a few minutes before using.
6. Optional: Remove Keys For A Deeper Clean
Some laptop keys can be gently removed for cleaning underneath. Only do this if you are confident, as keys can break easily.
- Use a keycap puller or a plastic tool to gently lift the key.
- Clean under the key with a swab or brush.
- Snap the key back into place carefully.
7. Final Check
- Make sure all keys move freely.
- Reconnect any cables or battery and power on your laptop.
Example: Cleaning Frequency Table
Here’s a guide for how often you should perform each type of cleaning:
| Cleaning Type | Frequency |
|---|---|
| Quick Cleaning | Weekly |
| Deep Cleaning | Every 2-3 months |
| Disinfection | After illness or food spills |
Dealing With Spills
Spilling liquid on your keyboard is one of the most common and serious problems. Here’s what to do if it happens:
- Turn off your laptop immediately and unplug it.
- Flip the laptop upside down to let liquid drain out.
- Remove the battery if possible.
- Blot the keyboard with a dry cloth—do not rub.
- Leave the laptop upside down for at least 24 hours in a dry area.
- If a sugary or sticky drink was spilled, follow up with a deep cleaning.
Do not use a hairdryer or heat gun. Excess heat can warp the keys or damage the electronics. If your laptop does not work after drying, seek professional help.
Cleaning Special Keyboard Types
Different laptops have unique keyboard needs. Here’s how to handle a few special cases:
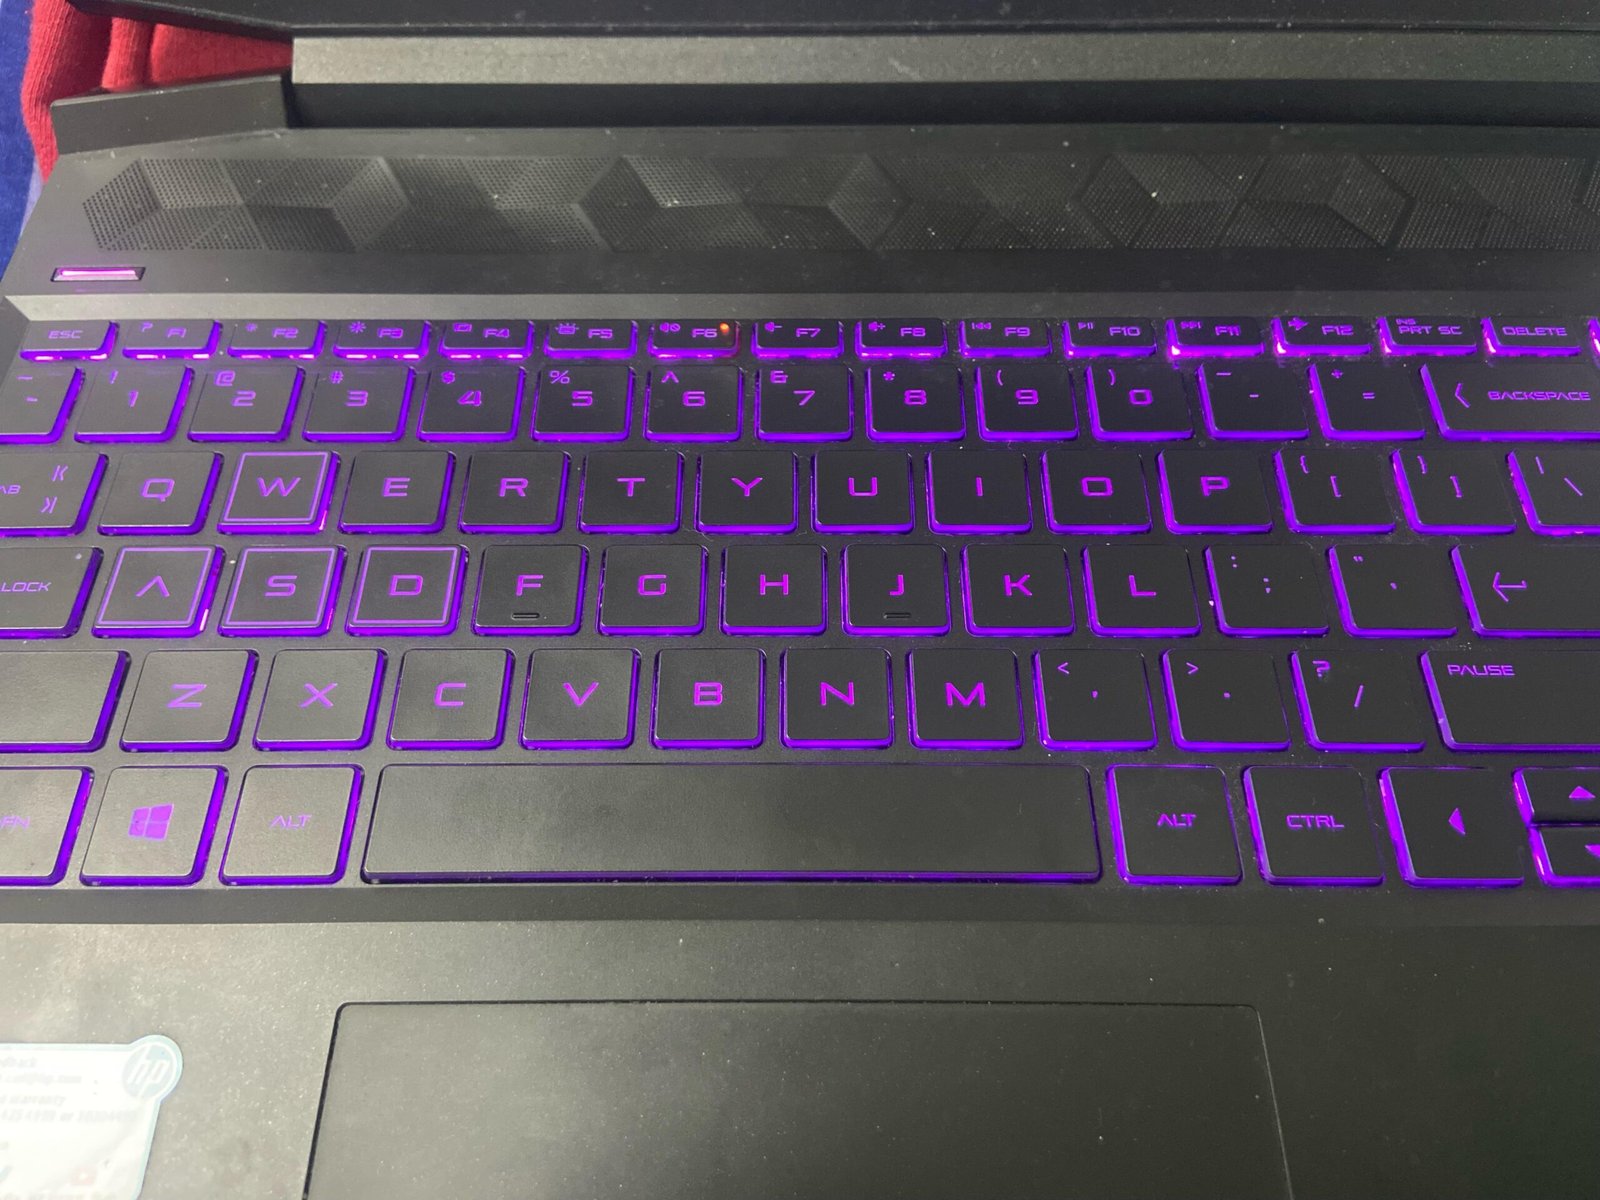
Backlit Keyboards
- Use less liquid—moisture can damage the lighting system.
- Clean gently, as backlit keys are often thinner.
Touch Bar Or Touchpad Areas
- Use only a slightly damp microfiber cloth.
- Never use alcohol on touch bars unless the manufacturer says it is safe.
Convertible Laptops (2-in-1s)
- Clean the keyboard and screen together, but never spray cleaner directly onto the device.
- Always remove the keyboard or switch to tablet mode before cleaning.
Mistakes To Avoid
Many people make errors when cleaning their laptop keyboards. Avoid these common mistakes:
- Using too much liquid: Liquids can seep inside and cause short circuits.
- Forcing keys off: Laptop keys are fragile and may not snap back on.
- Using paper towels: These can scratch the surface and leave lint.
- Spraying cleaner directly on the keyboard: Always spray onto a cloth, not the device.
- Ignoring stuck or broken keys: Address issues quickly before they get worse.
Credit: www.reddit.com
Comparing Cleaning Methods
Different cleaning tools and techniques work better for certain problems. Here’s a comparison to help you choose:
| Tool/Method | Best For | Precautions |
|---|---|---|
| Compressed Air | Removing dust, crumbs | Use short bursts, keep can upright |
| Microfiber Cloth | Wiping key surfaces | Do not soak cloth |
| Isopropyl Alcohol | Disinfecting, removing oils | Use 70% or higher, avoid excess |
| Cleaning Gel | Getting into tight spaces | Avoid sticky residue |
| Cotton Swab | Detail work between keys | Do not oversaturate |
Tips For Keeping Your Keyboard Clean Longer
A few simple habits can make your cleaning routine much easier and keep your keyboard in better shape.
- Wash your hands before using your laptop. This reduces oil and dirt transfer.
- Avoid eating and drinking near your laptop. Crumbs and spills are the biggest causes of keyboard dirt.
- Cover your keyboard when not in use. Keyboard covers or simple cloths help block dust.
- Store your laptop properly. Use a case or sleeve when traveling.
- Regular quick cleanings keep dirt from building up.
- Keep pets away from your workspace. Pet hair is surprisingly hard to remove from between keys.
- Replace worn or sticky keys. Some laptops allow easy replacement of individual keys.
Example: Preventive Habits Comparison
To show the impact of these habits, see how they affect cleaning needs:
| Habit | Effect on Cleaning Needs |
|---|---|
| Hand Washing | Less frequent deep cleaning |
| Using a Keyboard Cover | Blocks most dust and spills |
| Eating at Desk | Much more frequent cleaning needed |
Non-obvious Insights Most People Miss
- Keyboards as Bacteria Collectors: Many people only clean their screens, not realizing that the keyboard is often the dirtiest part of a laptop. According to a study by the University of Arizona, the average keyboard has 400 times more bacteria than a toilet seat. This makes regular disinfection even more important, especially if you use your laptop in public spaces or share it with others.
- Long-Term Damage from Ignored Dirt: Tiny particles like sand or hard crumbs can scratch the plastic under your keys over time. This can lead to permanently stuck or uneven keys, which may require a full keyboard replacement. Fast, regular cleaning is cheaper and less stressful than repairs.
- Static Electricity Risk: When using compressed air, always hold the can upright. Tilting it can cause liquid propellant to come out, which may damage electronics and create static that harms the keyboard.
When To Seek Professional Help
Sometimes, cleaning at home is not enough. Call a professional if:
- Keys stop working after cleaning or a spill.
- You see corrosion, rust, or sticky residue you can’t remove.
- You are not comfortable removing keycaps or opening your laptop.
A professional technician has the tools and experience to fix deeper problems without risking further damage.
Credit: www.reddit.com
Frequently Asked Questions
What Should I Do If A Key Is Stuck After Cleaning?
First, check for any visible debris around the stuck key. Use a soft brush or compressed air to gently clean the area. If the key remains stuck, try gently lifting it with a plastic tool, but be careful not to break it.
If the problem continues, seek professional help, as forcing the key can cause permanent damage.
Can I Use Household Cleaners On My Laptop Keyboard?
No, most household cleaners contain chemicals that can damage the plastic and electronics in your keyboard. Always use isopropyl alcohol (70% or higher) and a soft, lint-free cloth. Never spray any cleaner directly onto your keyboard; apply it to the cloth first.
Is It Safe To Remove All The Keys For Deep Cleaning?
Most laptop keys are not designed for frequent removal. Removing them can break small clips or hinges, making the key loose or unusable. Only remove keys if your laptop’s manual says it is safe, and always use a keycap puller or plastic tool.
For most users, cleaning around and between keys is enough.
Credit: www.amazon.com
How Do I Clean A Keyboard With Backlit Keys?
Use a slightly damp microfiber cloth and avoid using too much liquid. Backlit keyboards are more sensitive to moisture and can be damaged easily. Do not use strong chemicals, and always follow the manufacturer’s cleaning recommendations. If in doubt, check the laptop’s user guide or the manufacturer’s website.
How Often Should I Disinfect My Laptop Keyboard?
For most people, disinfecting the keyboard once a week is enough. If you share your laptop, use it in public places, or have been sick, disinfect more often. Regular wiping with isopropyl alcohol helps keep germs under control.
Keeping your laptop keyboard clean is simple but makes a huge difference in how your computer looks, feels, and works. By following the right steps and avoiding common mistakes, you keep your device running smoothly and yourself healthier. If you ever need more detailed information, sites like CDC Handwashing offer extra tips on keeping your hands and devices clean. Regular care now saves you time and trouble later, so make keyboard cleaning a habit you don’t skip.