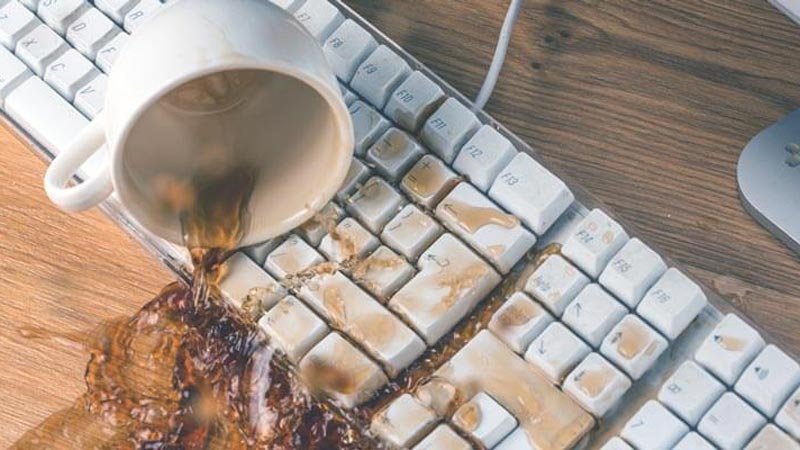
Spilling liquid on your keyboard is a stressful experience. Whether it’s coffee, water, soda, or juice, a spill can cause sticky keys, electrical issues, or even permanent damage. But don’t panic—acting quickly and carefully can often save your keyboard and, in many cases, your device.
This guide will show you exactly how to clean a keyboard after a spill, step by step. You’ll learn not only how to fix the mess, but also how to prevent bigger problems in the future. Even if you’re not tech-savvy, this article will give you the confidence to handle spills like a pro.
Immediate Actions After The Spill
Spills happen fast, and your response needs to be just as quick. The first few minutes are crucial for reducing damage. Here’s what you should do right away:
- Turn off the device immediately. If you’re using a laptop, hold down the power button until it shuts off. For a desktop keyboard, unplug it from the computer. This step is critical to avoid electrical shorts.
- Disconnect all cables and accessories. Remove USB receivers, wired connections, and any other devices attached to the keyboard.
- Remove external power sources. For laptops, take out the battery if possible. For wireless keyboards, take out the batteries.
- Flip the keyboard upside down to let the liquid drain out. Hold it over a sink or towel and gently shake it.
- Blot up excess liquid. Use a clean, dry cloth or paper towel. Press gently; don’t rub, as rubbing can push the liquid further in.
Many people skip these steps or wait too long, hoping the spill is minor. But every second counts. Acting fast reduces the risk of circuit damage and sticky keys.
Assessing The Damage
Before you begin deep cleaning, it’s important to know what you’re dealing with. Not all spills are the same.
- Water is the least damaging. It usually dries without leaving sticky residue.
- Sugary drinks (soda, juice) are the worst. Sugar and acids can damage both the keys and the electronics.
- Alcohol (beer, wine) can be corrosive and sticky.
- Milk or coffee can leave behind proteins or oils that attract dirt and mold.
Also, check how much liquid entered the keyboard. Did it just touch the surface, or did it seep between the keys? For laptops, did any liquid reach the touchpad or screen?
If you notice any of the following, your device may need professional help:
- Burning smell or smoke
- Keys not responding after drying
- Device won’t turn on after cleaning
But for most minor spills, a careful cleaning can restore your keyboard.
Tools And Materials You’ll Need
Gather your cleaning supplies before you start. Here’s what works best:
- Microfiber cloths (for gentle cleaning)
- Cotton swabs (for hard-to-reach spots)
- Isopropyl alcohol (at least 70% concentration)
- Compressed air can (for blowing out debris)
- Small screwdriver (for removing keys if needed)
- Plastic prying tool (for lifting keys safely)
- Mild dish soap (for sticky spills)
- Distilled water (avoids mineral stains)
- Bowl or tray (for soaking keycaps)
- Soft brush or old toothbrush
Never use hair dryers, vacuum cleaners, or strong chemicals—they can damage the keyboard further.
Cleaning External Keyboards (wired Or Wireless)
Cleaning an external keyboard is usually easier than a laptop keyboard. You have more access and less risk to your main device.
Step 1: Remove All Power
Unplug the keyboard from your computer. If it’s wireless, remove the batteries immediately.
Step 2: Shake And Dry
Hold the keyboard upside down and gently shake it. This helps drain remaining liquid. Place it on a towel at an angle for 10–15 minutes to let gravity do its work.
Step 3: Remove Keycaps (if Possible)
Many external keyboards have removable keycaps.
- Use a plastic prying tool or your fingers to gently pop off the keycaps.
- Be careful with the spacebar and large keys—they often have metal stabilizers.
- Place the keycaps in a bowl.
Step 4: Clean Sticky Keycaps
If the spill was sticky (soda, juice), soak the keycaps in a bowl of warm water with a few drops of mild dish soap. Let them soak for 15–30 minutes. Use a soft brush to scrub each keycap, rinse with distilled water, and let them air dry completely.
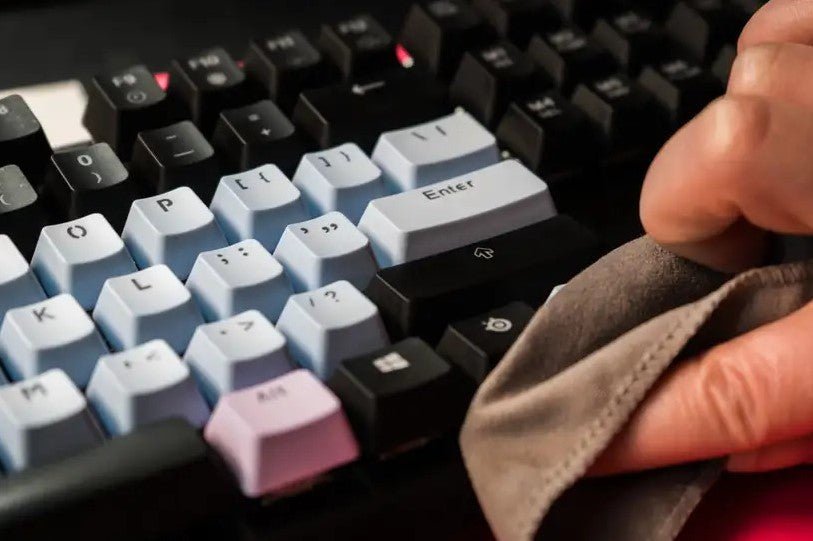
Step 5: Clean The Keyboard Surface
Dampen a microfiber cloth with isopropyl alcohol or distilled water. Wipe the entire keyboard surface, focusing on sticky spots. Use cotton swabs for tight areas.
For debris, use a compressed air can to blow out crumbs and dust from the spaces between keys.
Step 6: Dry Thoroughly
Let the keyboard air dry in a warm, dry place for at least 24 hours. Never use a hair dryer or direct heat, as this can warp plastic or push moisture deeper inside.
Step 7: Reassemble
Once everything is dry, replace the keycaps. Plug the keyboard back in and test each key.
Example: Cleaning A Mechanical Keyboard
Mechanical keyboards are popular for their durability and tactile feel. Their keycaps are usually easy to remove. After cleaning, users often notice that the keys feel smoother and more responsive. However, pay attention to the small springs or stabilizers under larger keys—they must be reinstalled correctly.
Cleaning Laptop Keyboards
Laptop keyboards are trickier to clean because the keyboard is attached to sensitive electronics. Here’s how to clean them safely:
Step 1: Power Down And Remove Battery
Shut down the laptop completely and unplug the charger. If possible, remove the battery to prevent electrical shorts.
Step 2: Drain The Liquid
Flip the laptop upside down in an “A” shape (like a tent), so the liquid can drain away from the motherboard. Leave it in this position for at least 20 minutes.
Step 3: Remove Loose Debris
Use a soft brush or compressed air to clear out any crumbs or particles.
Step 4: Clean The Surface
Dampen a microfiber cloth with isopropyl alcohol. Wipe the keys and areas where the spill occurred. Do not let liquid pool or drip into the keyboard.
Step 5: Remove Individual Keys (if Possible And Safe)
Some laptop models allow you to carefully pop off keycaps with a plastic tool. If you’re not sure, check your laptop’s manual or search the model online. Only remove keys if you’re confident you can replace them.
Clean sticky keycaps as described earlier. Let them dry fully before reattaching.
Step 6: Dry Completely
Let the laptop air dry in a warm, dry area for at least 24–48 hours. Place it near a fan or in a room with good airflow. Do not use an oven or hair dryer.
Step 7: Test The Laptop
After drying, reinsert the battery and power on the laptop. Test every key. If some keys are still sticky or unresponsive, repeat the cleaning process or seek professional help.
Non-obvious Insight: Keyboard Layers
Laptop keyboards often have multiple layers—plastic sheets, sensors, and circuits. Even a small amount of liquid can get trapped between layers and cause delayed problems. This is why drying time is so important—don’t rush to turn your laptop on.
Cleaning Special Keyboard Types
Not all keyboards are the same. Here are tips for cleaning less common types:
Mechanical Keyboards
These are easier to take apart. Most keycaps are designed for removal and cleaning. Remember to photograph the keyboard before removing the keys, so you know where each one goes.
Membrane Keyboards
These have a soft, flexible surface. Don’t try to remove keycaps unless the manufacturer says it’s safe. Focus on surface cleaning and drying.
Chiclet Keyboards
Common on laptops, these have flat, square keys. Use a thin prying tool to gently lift keycaps if needed, but avoid force.
Wireless/bluetooth Keyboards
Remove all batteries immediately. Even a small amount of liquid can cause battery corrosion. Clean and dry thoroughly before reinserting batteries.
What Not To Do After A Spill
Some mistakes can make things worse. Avoid these common errors:
- Don’t keep using the keyboard right after the spill.
- Don’t use a hair dryer, oven, or microwave to dry the keyboard.
- Don’t pour more liquid (even cleaning fluid) onto the keyboard.
- Don’t force off keys that don’t come off easily.
- Don’t reassemble or turn on the device before it’s fully dry.
People often think that a quick wipe is enough, especially for water spills. But even water can cause corrosion if left inside.
Preventing Future Spills
Cleaning up a spill is stressful. Preventing one is much easier. Here’s how to reduce future risk:
- Keep drinks away from your computer area. Use a side table or a stable cup holder.
- Use spill-resistant keyboards. These have drainage holes or sealed layers.
- Install a keyboard cover. Silicone covers are affordable and easy to clean.
- Train yourself to act fast. Know what to do before a spill happens.
- Regularly clean your workspace to avoid crumbs and debris that attract spills.
Real-world data shows that over 30% of laptop repairs are related to liquid spills. Prevention saves money and stress.
Credit: www.aziocorp.com
Comparing Cleaning Methods
Different cleaning methods work better for different keyboards and spill types. Here’s a simple comparison:
| Method | Best For | Time Needed | Effectiveness |
|---|---|---|---|
| Wiping Surface | Light spills, dust | 5-10 minutes | Low |
| Removing Keycaps | Sticky spills, mechanical keyboards | 30-60 minutes | High |
| Soaking Keycaps | Heavy sugar spills | 1-2 hours (including drying) | Very High |
| Compressed Air | Dirt, crumbs | 5 minutes | Medium |
Drying Times For Different Spills
How long should you wait before using your keyboard again? Here’s a guideline based on spill type:
| Spill Type | Minimum Drying Time | Recommended Wait Time |
|---|---|---|
| Water | 8 hours | 24 hours |
| Coffee/Tea (no sugar) | 12 hours | 24-36 hours |
| Soda/Juice | 24 hours | 48 hours |
| Alcohol | 8 hours | 24 hours |
| Milk | 24 hours | 48 hours |
Always err on the side of caution. Waiting longer is better than causing permanent damage.
When To Seek Professional Help
While most spills can be handled at home, some situations require expert attention:
- The device doesn’t turn on after cleaning and drying.
- Multiple keys remain unresponsive.
- There’s a persistent burning smell or visible corrosion.
- The spill reached internal components (like a laptop motherboard).
A professional cleaning can sometimes save a device that seems dead. Some repair shops use ultrasonic cleaning machines to remove corrosion and residue safely.
Common Mistakes And How To Avoid Them
- Ignoring sticky residue. Even after drying, sticky keys can attract more dirt and eventually stop working.
- Not removing all power sources. Leaving batteries or power connected risks a short circuit.
- Trying to rush the process. Using heat or plugging in too soon can ruin the keyboard.
- Forgetting to test all keys. Always check every key before returning to full use.
- Not cleaning under keycaps. If you only wipe the surface, sticky problems may return.
A non-obvious tip: If you use your keyboard for work, keep a cheap backup keyboard handy. This lets you keep working while your main keyboard dries.
Credit: www.hungerford.tech
Extra Tips For Stubborn Cases
Some spills are tougher than others. Here’s what to do if your keyboard still isn’t clean:
- Try isopropyl alcohol. This evaporates quickly and dissolves sticky residue.
- Repeat the cleaning process. Sometimes, more than one round is needed.
- Use a soft brush to gently scrub under the keys.
- Check for hidden corrosion. Look for green or white powder on metal parts.
If you’re dealing with a high-value device (like a gaming keyboard or premium laptop), check the warranty. Some manufacturers offer cleaning or repair services for accidental spills, though not all warranties cover liquid damage.
The Role Of Keyboard Design In Spill Resistance
Some modern keyboards are built to survive spills better than others. Here’s a quick look:
- Spill-resistant keyboards have drainage holes or sealed layers. They can handle small spills without damage.
- Mechanical keyboards are easier to clean but may have exposed switches.
- Chiclet keyboards are flat, so liquid spreads out but may reach electronics faster.
Manufacturers like Lenovo and Dell often include spill-resistant designs in business laptops. But no keyboard is truly waterproof unless it’s designed for industrial use.
What To Do With A Non-removable Keyboard
Some laptops and all-in-one computers have keyboards that can’t be removed easily. For these:
- Focus on drying and surface cleaning.
- Use compressed air to clear out liquid.
- Avoid pouring cleaning fluid into the device.
- If keys remain sticky, contact a repair center.
Patience is key—rushing can make things worse.
How To Tell If Your Keyboard Is Fully Recovered
After cleaning and drying, look for these signs:
- All keys move freely and feel normal.
- No sticky spots or residue.
- The device powers on with no errors.
- No unusual smells or sounds.
Test the keyboard by typing a full sentence or using an online keyboard tester. If everything works, you’ve likely saved your device.
Credit: www.youtube.com
The Value Of Regular Maintenance
Regular cleaning can extend the life of your keyboard, even if you never spill anything. Wipe the surface weekly, use compressed air monthly, and deep clean every few months. This keeps dust, crumbs, and germs away.
A 2022 study showed that keyboards can harbor more bacteria than toilet seats if not cleaned regularly. So, good cleaning habits protect both your hardware and your health.
Frequently Asked Questions
What Should I Do If I Spill Water On My Keyboard?
Act quickly. Turn off and unplug your device immediately. Flip the keyboard upside down to let water drain. Blot with a dry cloth, then let it air dry for at least 24 hours. Avoid using heat. Water is less damaging than sugary drinks, but still requires fast action.
Can I Use A Hair Dryer To Speed Up Drying?
No, using a hair dryer can force liquid deeper into the keyboard and may cause plastic parts to warp or melt. Always air dry your keyboard in a warm, dry area with good airflow.
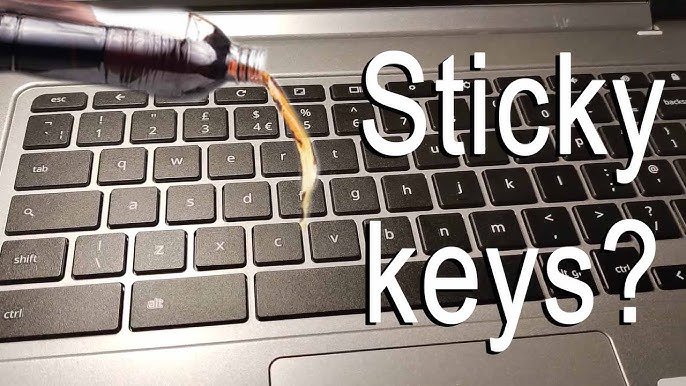
How Do I Clean Sticky Keys After A Soda Spill?
Remove the keycaps if possible. Soak them in warm water with mild dish soap, scrub gently, and let them dry completely. Wipe the keyboard surface with isopropyl alcohol. Reassemble only when everything is dry.
What If My Laptop Keyboard Doesn’t Work After Cleaning?
If the keyboard still doesn’t work after a full cleaning and drying (at least 24–48 hours), you may need professional repair. Internal damage can occur if liquid reached the circuits or motherboard.
Are There Keyboards Designed To Resist Spills?
Yes, some keyboards are advertised as spill-resistant. They have drainage holes or sealed layers to protect the electronics. However, “spill-resistant” does not mean waterproof. Always clean up spills as soon as possible.
For more in-depth details about liquid damage and electronics, see Wikipedia’s page on water damage.
Taking the right steps after a spill can save your keyboard and even your entire device. By acting quickly, cleaning carefully, and allowing proper drying time, you can often avoid expensive repairs. Keep your workspace safe, maintain your equipment, and you’ll be ready if a spill ever happens again.
Related Office Guides
Continue with these related workspace guides:
