Laptop cooling pads are great tools for keeping your laptop temperature low. But there’s one thing many users forget: cooling pads get dirty. Dust, hair, crumbs, and even spills can block the fan, reduce airflow, or damage internal parts. If you want your cooling pad to work well and last longer, regular cleaning is a must. Many beginners don’t realize how much dirt can affect cooling performance, or that improper cleaning may damage the pad. Let’s explore all you need to know about laptop cooling pad cleaning, from why it matters to practical steps and expert tips.
Why Cleaning Your Laptop Cooling Pad Matters
A clean cooling pad keeps your laptop safe from overheating. When fans or vents are blocked, your pad can’t move air well. This leads to higher laptop temperatures, slower performance, and even hardware damage. Studies show that dust buildup can cut cooling efficiency by over 30%.
Regular cleaning not only improves cooling, but also extends the pad’s life.
Many people think only the laptop needs cleaning, but cooling pads get dirty just as fast. Airflow pulls in dust and particles, especially if you use your laptop on beds, carpets, or outside. Ignoring cleaning can cause:
- Fan blockage
- Reduced airflow
- Noisy operation
- Shorter pad lifespan
- Risk of electrical faults
Keeping your cooling pad clean is simple and safe if you follow the right steps.
Types Of Laptop Cooling Pads And Cleaning Needs
Not all cooling pads are the same. Different types need different cleaning approaches. Knowing your pad type helps you choose the best method.
| Cooling Pad Type | Main Features | Cleaning Needs |
|---|---|---|
| Active (with fans) | Built-in fans, powered by USB | Regular dust removal, occasional deep cleaning |
| Passive (no fans) | Vented surface, no moving parts | Simple wiping, less frequent deep cleaning |
| Hybrid | Fans plus vented design | Both dust removal and wiping |
| Adjustable/Ergonomic | Movable parts, extra edges | Cleaning of hinges, joints, and extra surfaces |
If your pad has fans, focus on fan blades and air vents. Passive pads need less frequent cleaning but should be wiped down. Ergonomic pads have more surfaces and joints that can trap dirt.
Tools And Supplies For Cleaning Cooling Pads
Before you start, gather the right tools. Using the wrong supplies can damage your pad. Here’s what you need:
- Soft brush – For removing dust and hair from fans and vents.
- Compressed air can – Blows dust out of tight spaces.
- Microfiber cloth – Wipes surfaces without scratching.
- Small screwdriver – Opens fan compartments if needed.
- Mild cleaning solution – For sticky spills (water + a drop of dish soap).
- Cotton swabs – Cleans corners and fan blades.
- Vacuum with brush attachment – Sucks up loose debris.
- Plastic tweezers – Removes stuck particles safely.
Always use gentle tools. Avoid hard brushes, harsh chemicals, or wet cloths near electronics.
Step-by-step Guide: Cleaning Your Laptop Cooling Pad
Let’s break down the cleaning process. Whether your pad is basic or advanced, these steps cover all needs.
1. Unplug And Prepare
Always disconnect the cooling pad from your laptop or power source before cleaning. Remove your laptop from the pad. Place the pad on a clean, flat surface.
2. Remove Loose Debris
Shake the pad gently to dislodge crumbs or dust. Use a vacuum with a brush attachment to suck up loose particles. If you see hair or lint trapped in vents, remove them with tweezers.
3. Clean The Surface
Wipe the surface with a microfiber cloth. For sticky stains, lightly dampen the cloth with water and a drop of mild soap. Avoid soaking the pad.
4. Clean The Air Vents
If your pad has air vents, use a soft brush to sweep dust away. Compressed air is great for blowing dust out. Hold the air can upright and use short bursts.
5. Clean The Fans
For pads with fans, cleaning is more important. Brush dust off the fan blades gently. Use compressed air to remove dirt inside the fan housing. If the pad allows, open the compartment with a screwdriver for deeper cleaning. Clean with cotton swabs dampened (not wet) with water.
6. Clean Hinges And Joints
Ergonomic pads often have adjustable parts. Dirt can build up in hinges. Use a brush or cotton swab to clear these areas.
7. Dry And Reassemble
Let all parts dry completely. Never use a pad with moisture inside. Reassemble and plug back in.
8. Test Functionality
Plug in the pad and check if fans run quietly. If noise or vibration occurs, check for leftover debris.
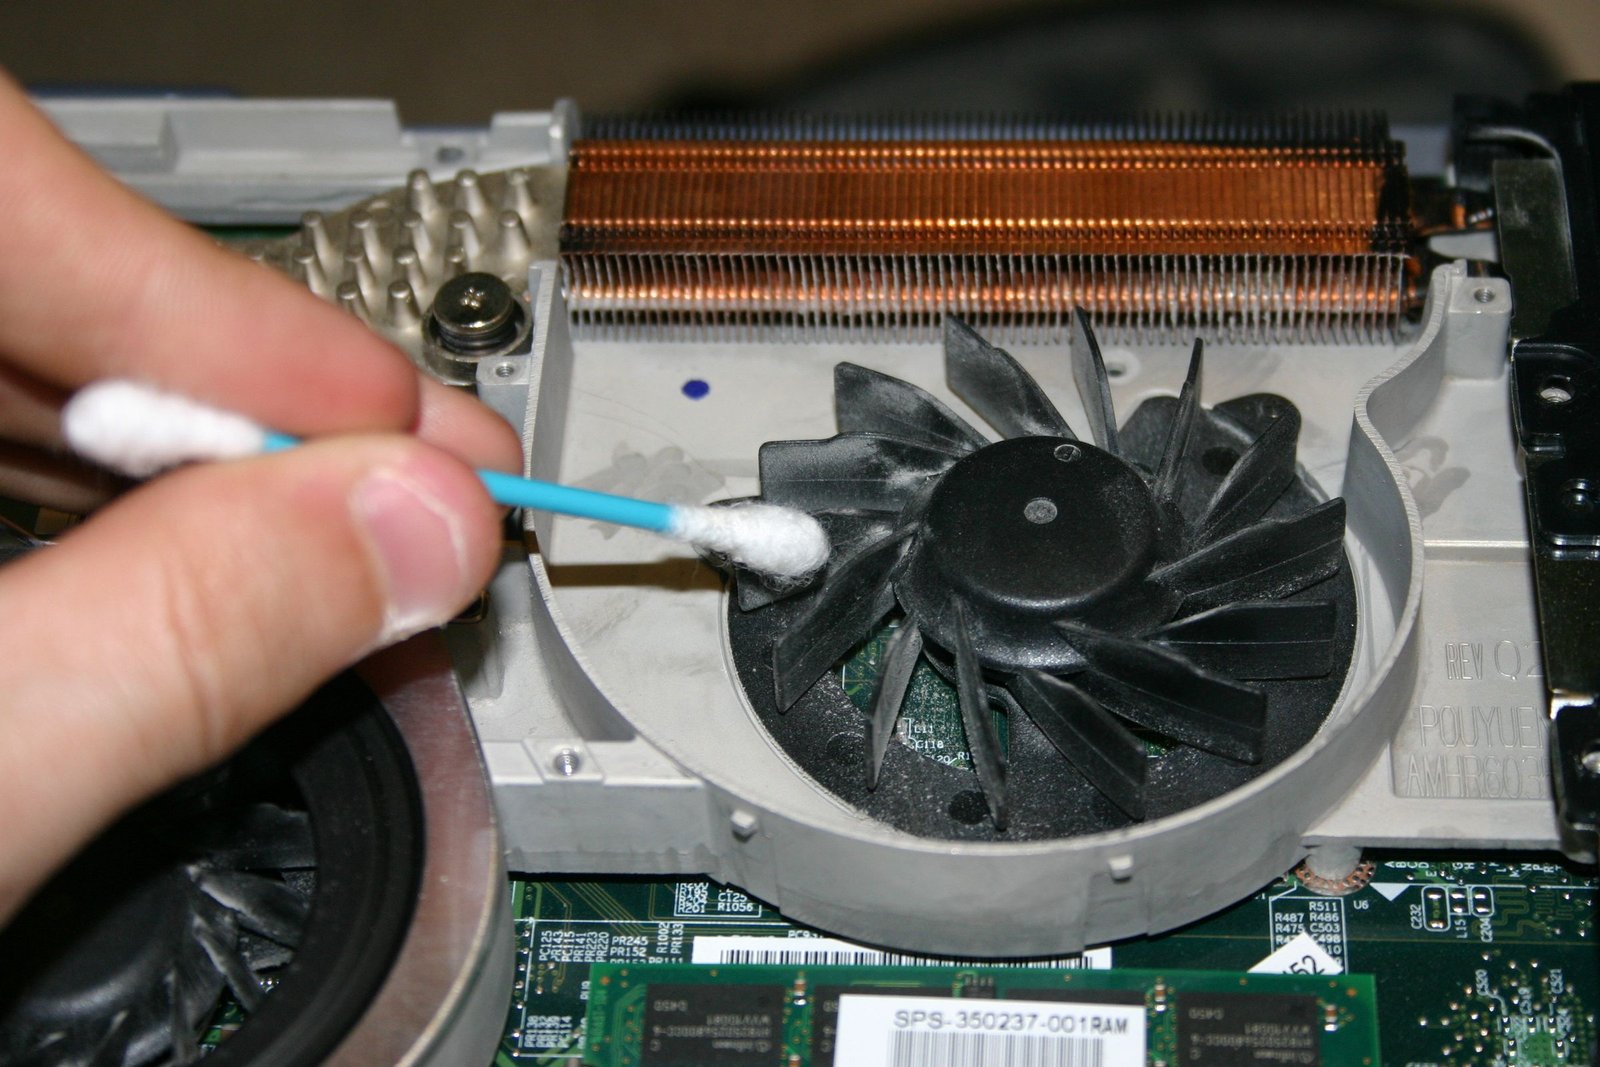
Credit: www.instructables.com
Deep Cleaning: When And How
Every few months, or after a spill, your cooling pad may need a deep clean. This means opening the pad, cleaning inside, and checking for damage.
When To Deep Clean
- If the fan slows down or stops
- After a liquid spill
- Visible dust inside the pad
- Unusual noise or heat
How To Deep Clean
- Unplug and Disassemble: Remove screws and open the pad. Keep track of parts.
- Remove Internal Dust: Use compressed air and brushes inside the pad.
- Clean Fan Blades: Wipe with a damp cotton swab.
- Check for Damage: Look for rust, melted plastic, or loose wires.
- Clean Circuit Board: If accessible, use air only. Never touch with liquids.
- Reassemble: Ensure all parts are dry and tight.
Many beginners don’t realize that deep cleaning can reveal early signs of damage. If you find any broken parts, replace or repair before reusing.
Cleaning Frequency: How Often Should You Clean?
How often you clean depends on usage and environment. If you use your laptop daily or in dusty rooms, clean the pad every 2–4 weeks. For occasional use or clean environments, once every 2–3 months is enough.
Here’s a simple comparison:
| Usage/Environment | Recommended Cleaning Frequency |
|---|---|
| Daily use, dusty room | Every 2 weeks |
| Daily use, clean room | Every 4 weeks |
| Occasional use | Every 2–3 months |
| Outdoor use | After every session |
| Spill or heavy dirt | Immediate deep clean |
A practical tip: set a reminder to clean your pad. Many people forget, and performance drops before they notice.
Common Mistakes To Avoid
Cleaning your cooling pad is simple, but there are mistakes that can cause trouble:
- Using wet cloths: Moisture can damage electronics. Use damp, not wet, cloths.
- Spraying cleaning solution directly: Always apply to cloth first.
- Forcing fan blades: This can break delicate parts. Clean gently.
- Ignoring deep cleaning: Only surface cleaning leaves hidden dust.
- Skipping drying time: Using a pad before it’s dry risks electrical faults.
- Using metal tools: Metal can scratch or cause shorts. Use plastic tools.
- Not unplugging before cleaning: Always disconnect to prevent shocks.
- Missing hinges and joints: Dirt here can block adjustment features.
One overlooked mistake: some people never clean the USB connector. Dust here can cause loose connections or overheating.
Special Cleaning Situations
Cleaning After A Spill
If you spill coffee or water on your cooling pad:
- Unplug immediately.
- Dry the pad upside-down.
- Open and clean inside if possible.
- Use isopropyl alcohol for sticky spills.
- Let dry for 24 hours before use.
Cleaning Pet Hair
Pet hair is tricky. Use a sticky roller and vacuum for surface hair. For inside, use tweezers and compressed air.
Cleaning Pads With Led Lights
Pads with LED lights need extra care. Avoid liquid near the lights. Use air and dry cloth only.
Improving Cooling Pad Performance With Cleaning
A clean cooling pad works better. Tests show that a cleaned pad can drop laptop temperatures by 5–10°C. If your pad is noisy or the laptop gets hot, cleaning often fixes the issue.
If you want extra performance:
- Clean the pad and laptop vents together.
- Place the pad on a hard, flat surface for best airflow.
- Keep the area around the pad clean.
- Replace pad fans if they are slow or noisy.
Many users don’t realize that cleaning both the pad and laptop vents gives the best results.
When To Replace Your Cooling Pad
Cleaning helps, but pads don’t last forever. Replace your pad if:
- Fans are broken or very noisy after cleaning.
- The pad surface is cracked or warped.
- USB connector is loose after cleaning.
- Cooling performance drops even after cleaning.
Modern pads last 2–5 years with regular cleaning. If you notice signs of wear, buy a new one for safety.
Cleaning And Warranty: What You Need To Know
Before deep cleaning, check your cooling pad warranty. Some brands void warranty if you open the pad. If your pad is under warranty, stick to surface cleaning. Always read the manual.
If you need replacement parts, buy from the official brand. Using cheap parts may reduce cooling or damage your laptop.
For more details, check reliable sources like Wikipedia.
Environmental Impact Of Cooling Pad Cleaning
Cleaning helps your pad last longer, reducing electronic waste. Throwing away dirty pads increases pollution. By cleaning and maintaining, you save money and help the environment.
Also, use eco-friendly cleaning products. Avoid harsh chemicals that harm air or water.
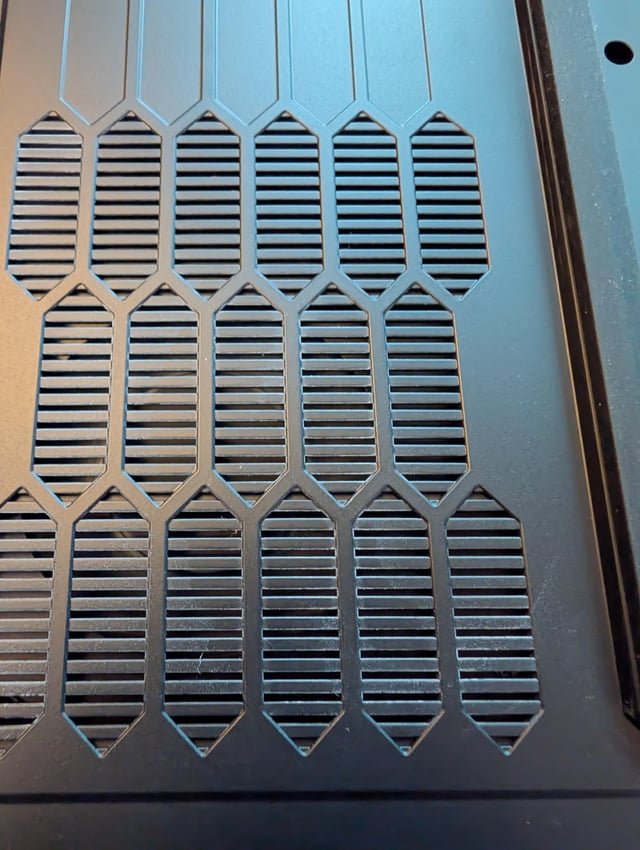
Credit: www.reddit.com
Safety Tips For Cleaning Cooling Pads
Safety is important. Here’s what to remember:
- Always unplug before cleaning.
- Never use lots of water or spray directly.
- Avoid strong chemicals near electronics.
- Keep children and pets away while cleaning.
- Let all parts dry fully before reassembling.
- Use gentle, non-metal tools.
- Wear gloves if you have allergies.
Many beginners don’t realize how quickly a small amount of water can cause damage. If unsure, stick to dry cleaning.
Troubleshooting After Cleaning
Sometimes, cleaning causes unexpected issues. If your pad doesn’t work after cleaning:
- Check all connections.
- Make sure the pad is dry.
- Reassemble carefully.
- Test with another USB cable.
- If the fan is noisy, check for leftover debris.
If problems persist, contact the manufacturer.
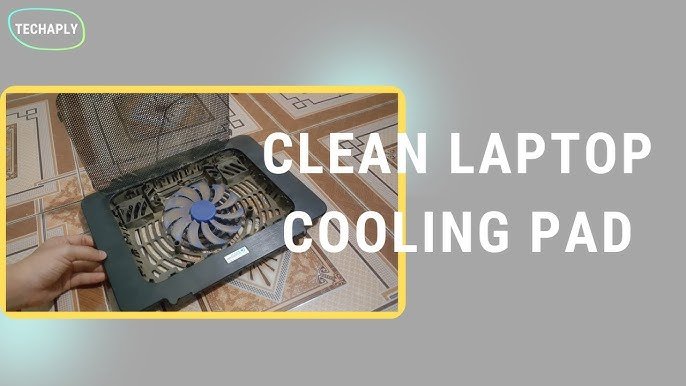
Credit: www.youtube.com
Frequently Asked Questions
What Is The Safest Way To Clean A Laptop Cooling Pad?
The safest way is to unplug the pad, use a soft brush or compressed air for dust, wipe with a slightly damp microfiber cloth, and avoid liquids near electronics. For fans, use cotton swabs and air. Always let the pad dry fully before use.
How Often Should I Clean My Cooling Pad?
Clean every 2–4 weeks if you use your laptop daily or in a dusty room. For less frequent use, clean every 2–3 months. Clean immediately after spills or heavy dirt.
Can I Use Household Cleaners On My Cooling Pad?
Avoid strong household cleaners. Use water with a drop of mild dish soap. Never spray cleaners directly on the pad. For sticky spills, isopropyl alcohol is safe if used carefully.
What If My Cooling Pad Stops Working After Cleaning?
Check all connections and make sure the pad is dry. Test with another USB cable. If the fan doesn’t work, there may be leftover debris or damage. Reassemble carefully and contact the manufacturer if needed.
Do Cooling Pads Need Replacement After A Spill?
Not always. If you clean quickly and dry the pad fully, it should work. If the pad still doesn’t work or shows signs of damage, consider replacing it.
Final Thoughts
Cleaning your laptop cooling pad is easy, but often overlooked. Regular cleaning keeps your pad and laptop cool, quiet, and safe. With the right tools and steps, you can extend the life of your cooling pad, improve performance, and avoid costly repairs.
Don’t wait for problems to appear. Take a few minutes every month to clean your pad, and enjoy smooth, safe laptop use. Remember, a clean cooling pad is a smart investment in your tech and your health.
Related Office Guides
Continue with these related workspace guides:
