Keeping your headphones clean isn’t just about looks. Dust, sweat, earwax, and daily grime can affect sound quality and even your health. Over time, dirty headphones may cause skin irritation, ear infections, or simply stop working well. Whether you use expensive over-ear models, wireless earbuds, or simple wired headphones, regular cleaning is essential.
Many people don’t realize that cleaning headphones properly can help them last longer and sound better. You don’t need special tools—just a few household items and the right steps. Let’s explore exactly how to clean your headphones, what mistakes to avoid, and how to keep your favorite audio gear in top condition.
Why Cleaning Headphones Matters
Clean headphones are important for more than just hygiene. When dirt, sweat, or earwax builds up, it can block sound and damage small parts inside. This build-up can also create a warm, moist area where bacteria grow fast. For people who use headphones at the gym or while commuting, sweat and dust collect even quicker.
A recent study in the *Journal of Health and Hygiene* found that headphones can carry more bacteria than a kitchen counter, especially if they are shared or used for long hours. Dirty headphones can cause:
- Ear infections: Bacteria and fungus thrive in dirty earbuds and earpads.
- Reduced sound quality: Muffled audio or imbalance between left and right sides.
- Shorter lifespan: Moisture and grime break down delicate parts.
Regular cleaning makes headphones safer, more comfortable, and helps your investment last.
Tools And Materials You’ll Need
Before starting, gather these items. Most can be found at home:
- Microfiber cloth: For wiping smooth surfaces without scratching.
- Cotton swabs: To reach small corners and crevices.
- Soft-bristled toothbrush: Great for mesh grills and small holes.
- Rubbing alcohol (isopropyl alcohol, 70%): Disinfects and dries quickly.
- Mild soap: For cleaning earpads or silicone tips.
- Warm water: Used with soap for gentle cleaning.
- Toothpick or small brush: For stubborn dirt or earwax.
- Compressed air (optional): To blow out dust from hard-to-reach places.
- Paper towel or lint-free cloth: For drying.
Tip: Avoid household cleaners with bleach or strong chemicals. These can damage plastics, leather, or fabric covers.
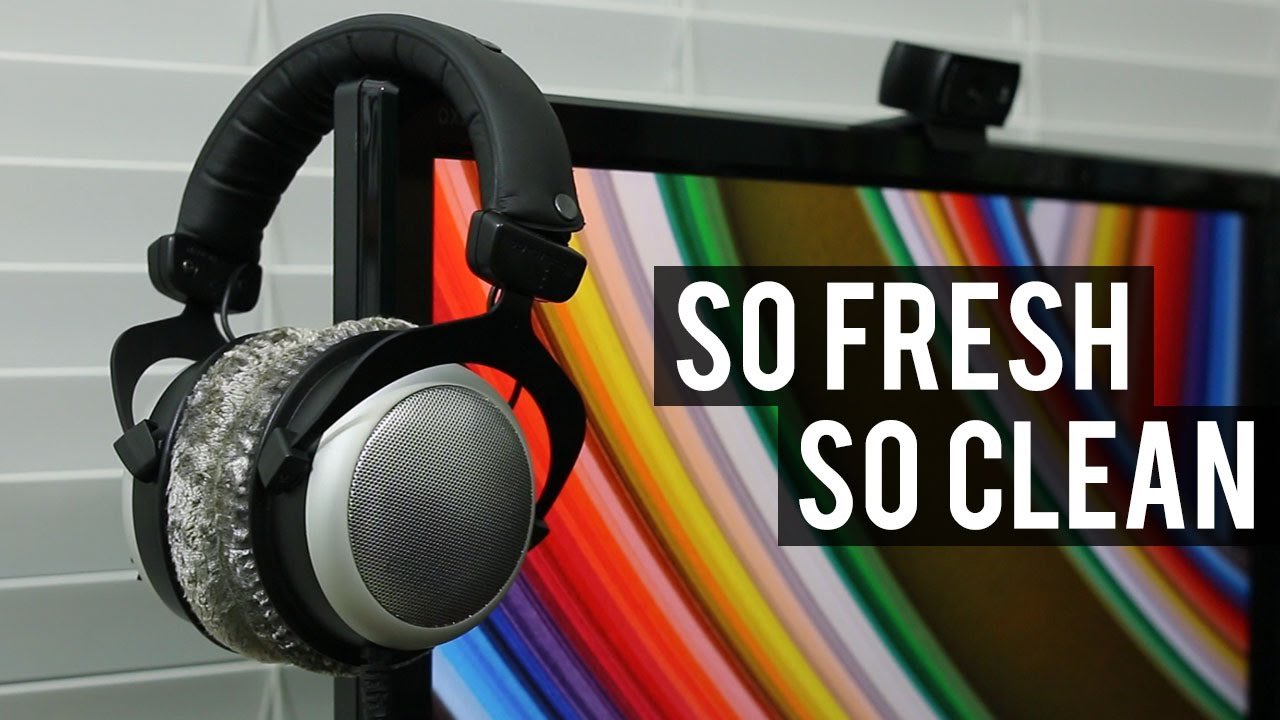
How To Clean Different Types Of Headphones
Not all headphones are built the same. The cleaning process changes depending on the design and material. Here’s how to clean the most common types.
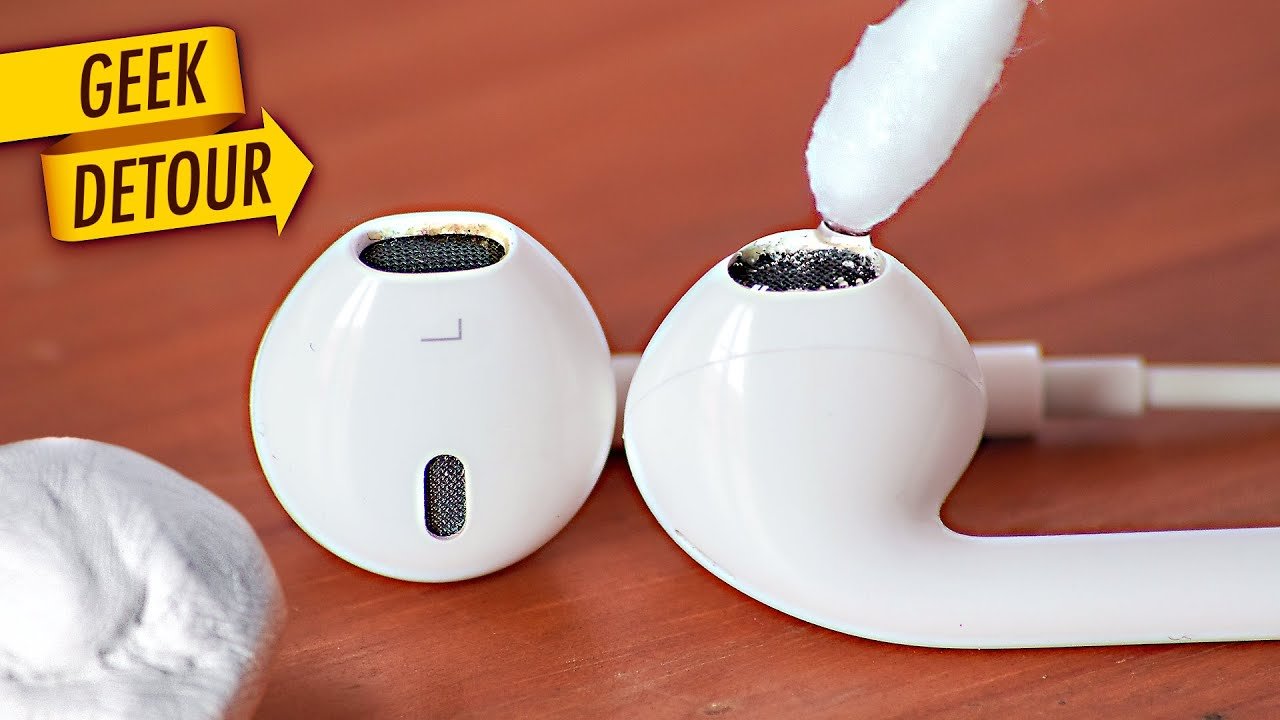
In-ear Headphones (earbuds)
Earbuds collect earwax quickly since they sit inside your ear canal. Many have removable silicone tips.
- Remove the tips: Gently pull silicone or foam tips off. Soak them in warm soapy water for a few minutes.
- Clean the earbud body: Use a dry toothbrush or cotton swab to loosen dirt from the mesh grill. Be gentle—don’t press into the mesh.
- Disinfect surfaces: Lightly dampen a microfiber cloth with rubbing alcohol. Wipe the plastic or metal parts.
- Clean the tips: Rinse silicone tips under clean water, then dry fully before reattaching.
- Clean the case: If you have wireless earbuds, clean the charging contacts with a dry swab.
Non-obvious insight: Many people forget the charging case collects pocket lint, which can block charging pins.
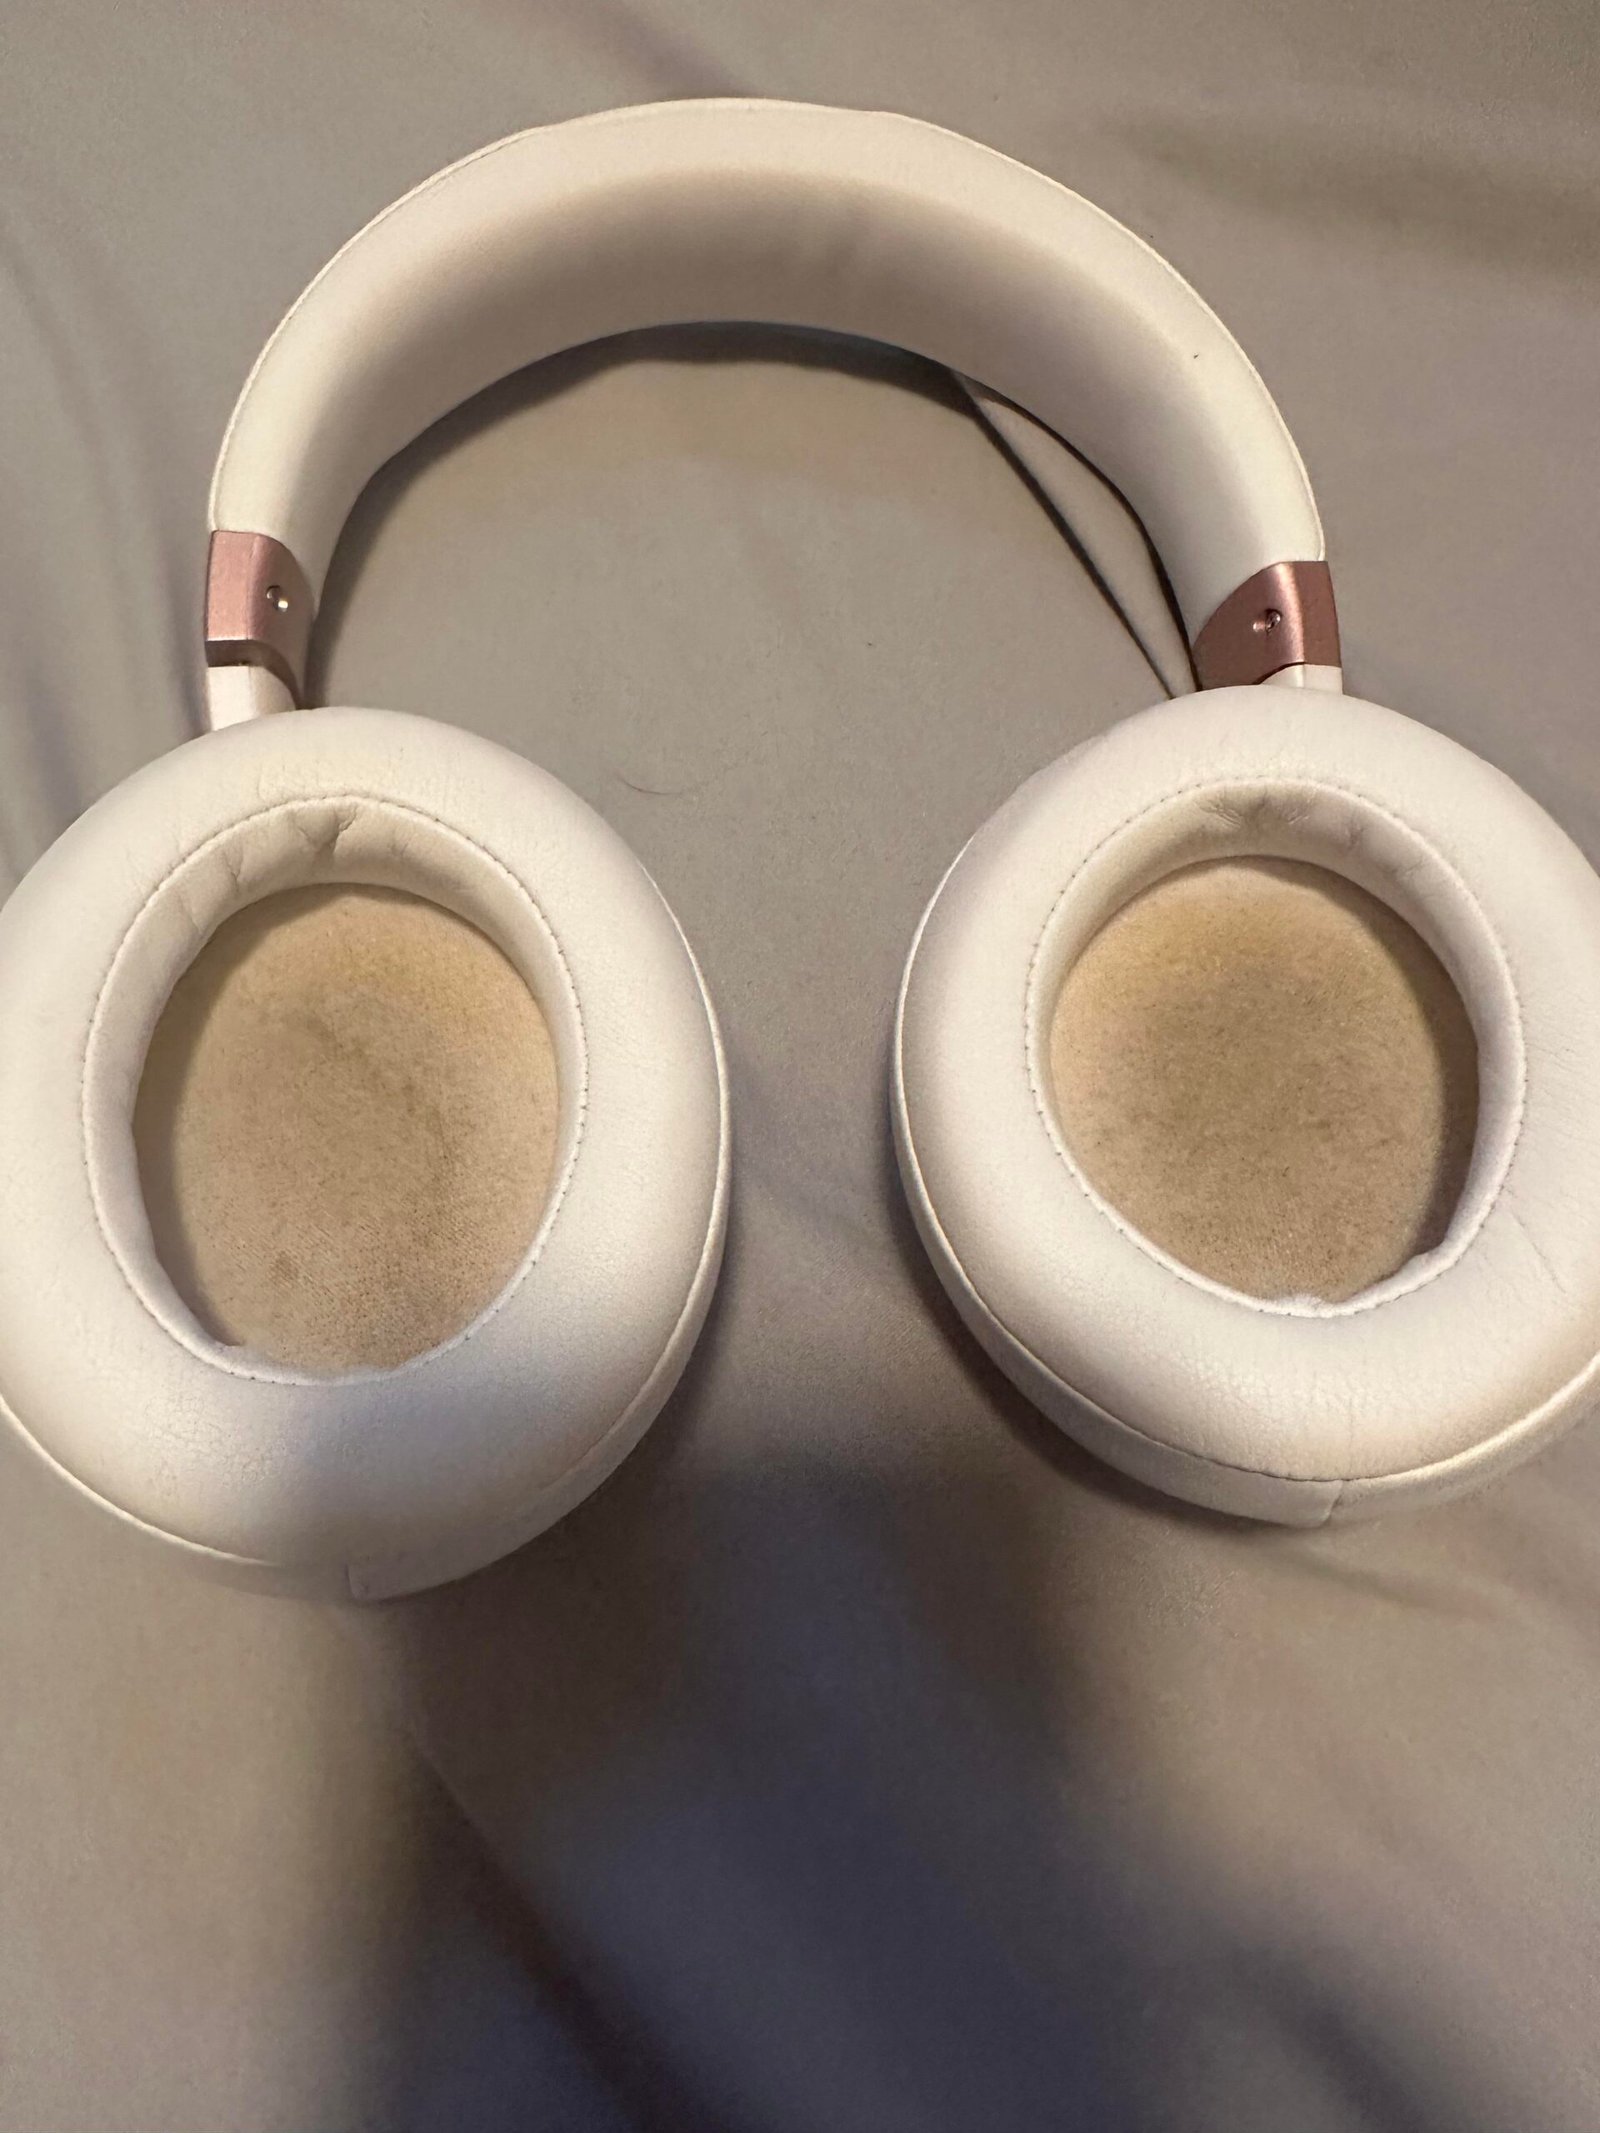
Over-ear And On-ear Headphones
These have padded earpads or cushions, often made of leather, foam, or fabric.
- Remove earpads if possible: Check your manual. Most earpads twist or snap off.
- Clean earpads: Mix a little mild soap in warm water. Dampen a cloth (not soaking wet) and wipe down each pad. For leather, use a special leather cleaner.
- Dry carefully: Pat with a dry towel and let air dry completely before using.
- Clean headband and frame: Use a cloth with rubbing alcohol to wipe plastic or metal parts.
- Clean mesh grills: Use a dry brush or compressed air to clear dust without pushing it inside.
Practical tip: Fabric pads can sometimes be replaced. If your pads smell or look worn, check if your brand sells replacements.
True Wireless Earbuds
True wireless earbuds, like AirPods, have sensitive charging points.
- Wipe the exterior: Use a cloth with a little rubbing alcohol.
- Clean mesh and sensors: Use a dry cotton swab or soft brush. Never poke mesh holes with anything sharp.
- Clean charging contacts: Use a dry swab only—moisture can damage charging.
- Clean the case: Remove dust with a dry brush; use compressed air for deep cleaning.
Beginner mistake: Using water or wet wipes inside the charging case can break the electronics.
Wired Headphones
Wired headphones collect dust along the cable and in the jack.
- Wipe the cable: Use a cloth dampened with a little rubbing alcohol.
- Clean the plug: Rub the metal jack with a dry paper towel to remove oil or dirt.
- Check for damage: If you see frayed wires, stop using and repair or replace the cable.
Data point: Research shows that dirt on headphone jacks can cause crackling sound or poor connection.
Step-by-step Cleaning Guide
Follow these steps for a thorough, safe clean:
- Unplug and power off: Always disconnect headphones from devices before cleaning.
- Remove detachable parts: Take off earpads or tips.
- Dry dust removal: Use a brush, toothpick, or compressed air to remove loose dirt.
- Surface cleaning: Wipe all surfaces with a microfiber cloth dampened (not wet) with rubbing alcohol.
- Deep clean: For stubborn grime, use a cotton swab with a little alcohol.
- Clean tips or pads: Wash in soapy water, rinse well, and dry completely.
- Reassemble: Make sure everything is 100% dry before putting parts back.
- Store safely: Keep headphones in a case to avoid collecting new dust.
Credit: www.youtube.com
How Often Should You Clean Headphones?
Cleaning frequency depends on use. Here’s a helpful comparison:
| Usage Type | Recommended Cleaning Frequency |
|---|---|
| Daily (gym, commute) | Once a week |
| Occasional (home, desk) | Every 2 weeks |
| Shared headphones | After each use |
| Heavy sweating | After every workout |
Bonus tip: If you notice muffled sound or an odd smell, clean immediately.
What To Avoid When Cleaning Headphones
Some cleaning mistakes can ruin headphones. Here’s what to steer clear of:
- Too much water: Liquid can seep inside and damage electronics.
- Sharp objects: Don’t use needles or pins on mesh grills—they can tear or push dirt inside.
- Household cleaners: Avoid products with bleach, ammonia, or strong solvents.
- Hair dryers or heat: High heat can melt glue, foam, or plastic.
- Reassembling while damp: Moisture trapped inside causes mold or corrosion.
Non-obvious insight: Even “antibacterial” wipes are often too wet and leave residue. Always use a barely damp cloth.
Special Cleaning For Different Materials
Headphones use different materials that need unique care.
| Material | Best Cleaning Method | Common Mistake |
|---|---|---|
| Leather | Wipe with damp cloth, use leather conditioner | Using water or soap |
| Fabric | Gentle soap and water, air dry | Machine washing |
| Foam | Hand wash in soapy water, air dry | Wringing out foam |
| Plastic | Wipe with alcohol or soap solution | Scrubbing with abrasives |
| Metal mesh | Brush gently, compressed air | Poking with sharp tools |
How To Remove Earwax Buildup
Earwax is a common problem, especially with in-ear models. Here’s how to deal with it:
- Dry brushing: Use a soft, dry toothbrush to gently scrub the mesh.
- Toothpick for stuck wax: Very gently lift wax out. Don’t push it deeper.
- Alcohol swab: Dab a cotton swab in alcohol, squeeze out extra liquid, and wipe the area.
- Compressed air: Blow away loosened bits without pushing them in.
Note: If mesh is very clogged and sound is blocked, many brands sell replacement tips or covers.
Keeping Headphones Clean Longer
Prevention is easier than constant cleaning. Try these habits:
- Wash hands before using headphones.
- Store in a case when not in use to block dust and lint.
- Don’t share headphones, especially in gyms or public places.
- Let them air out after sweaty workouts or rain.
- Replace pads/tips every few months if you use headphones daily.
Pro insight: Keep an alcohol wipe in your headphone case for quick cleaning after use.
Troubleshooting Common Problems
If you notice something wrong, cleaning can help—but sometimes you need a fix.
- Distorted or muffled sound: Likely caused by earwax or dust in the mesh. Clean as above.
- Crackling or no sound: Check for dirt in the jack or charging points.
- Bad smell: Wash earpads or tips in soapy water; let air dry fully.
- Uncomfortable fit: Clean or replace worn tips or cushions.
If problems remain after cleaning, check the manufacturer’s website or contact support.
When To Replace, Not Clean
Cleaning is great, but not all problems can be solved this way. Replace your headphones or parts if:
- Earpads/tips tear or won’t clean: Replace for comfort and hygiene.
- Cables are frayed or exposed: This can be a safety hazard.
- Sound is still bad after deep cleaning: Internal damage may have occurred.
- Mold or stains won’t go away after washing.
Many brands sell replacement parts, which is cheaper than new headphones.
Comparing Cleaning For Headphones Vs. Earbuds
How you clean depends on the design. Here’s a quick comparison:
| Feature | Headphones | Earbuds |
|---|---|---|
| Main risk | Sweat and dust on pads | Earwax and moisture in tips |
| Cleaning focus | Pads and headband | Mesh grill and silicone tips |
| Frequency needed | Weekly | Every few days |
| Drying time | Longer (pads) | Short (tips) |
Credit: www.youtube.com
Safety Tips For Cleaning Electronics
- Never submerge electronics in water.
- Keep liquids away from charging ports and speakers.
- Don’t use hair dryers—air dry only.
- Wait until fully dry before plugging in or using headphones again.
- Check your manual for cleaning advice—some models are water-resistant, others are not.
For more detailed advice, visit the CDC’s noise safety guidance.
Frequently Asked Questions
How Often Should I Clean My Headphones?
You should clean headphones at least once a week if you use them daily, and more often if you sweat a lot or share them. Occasional users can clean every two weeks.
Can I Use Water To Clean My Headphones?
Use water only on detachable tips or pads, and never let water get inside electronic parts. Always dry parts completely before reassembling.
Is Rubbing Alcohol Safe For All Headphone Parts?
Rubbing alcohol is safe for most plastic and metal, but avoid using it on leather or foam pads. For these, use a damp cloth and special cleaners if needed.
What If My Headphones Smell Bad After Cleaning?
If odor remains, pads may need deeper cleaning or replacement. Soak removable pads in soapy water and let them air dry. Persistent smells often mean it’s time for new earpads.
Can Dirty Headphones Cause Ear Infections?
Yes, dirty headphones can harbor bacteria and fungus, increasing your risk for ear infections, especially if you share headphones or use them during workouts.
Taking care of your headphones doesn’t need to be complicated. With these steps, your audio gear will stay clean, sound its best, and last longer—so you can enjoy your music safely every day.
Credit: www.reddit.com
Related Office Guides
Continue with these related workspace guides:
