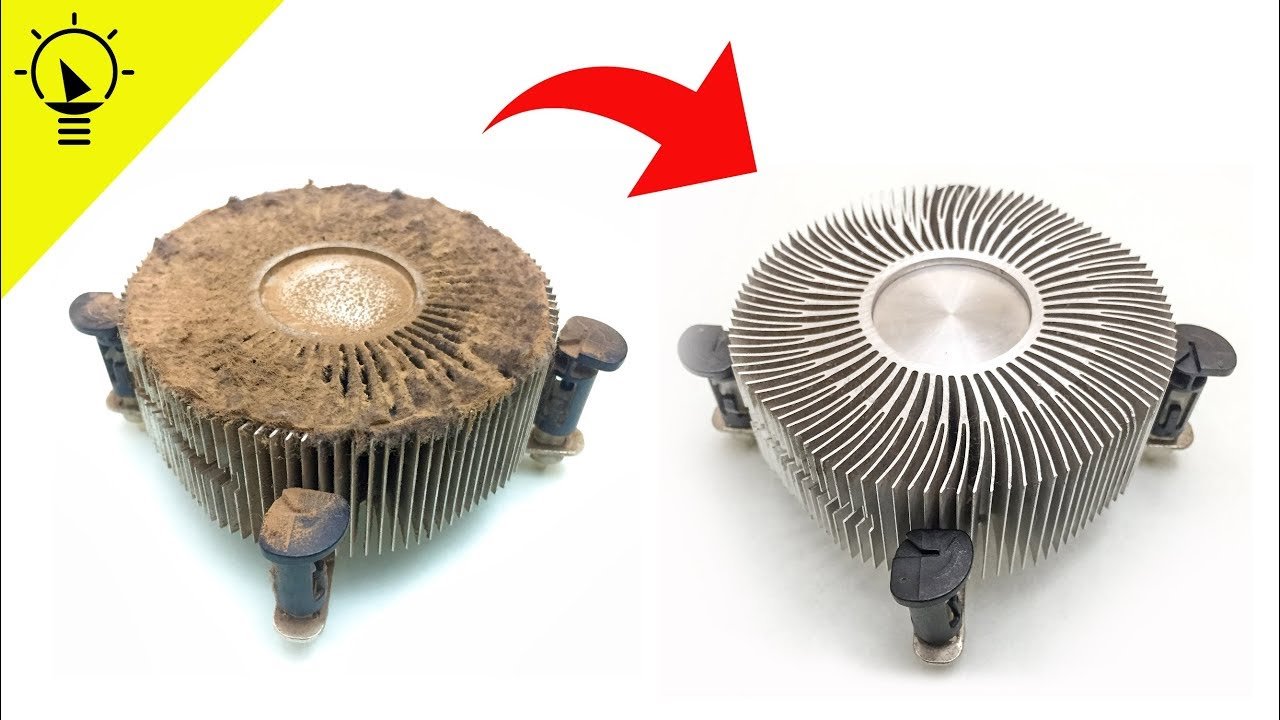
Keeping your computer running smoothly is not only about installing the latest software or using a powerful graphics card. One of the most overlooked parts of your PC is the CPU fan. This small but essential component works hard to keep the processor cool, preventing overheating and possible damage. Yet, over time, dust and dirt can build up, reducing its efficiency. If you notice your computer heating up quickly, making strange noises, or shutting down unexpectedly, a dirty CPU fan could be the cause. Cleaning your CPU fan regularly helps your computer stay cool, quiet, and efficient. In this guide, you’ll learn everything you need to safely clean a CPU fan, even if you have never opened a computer before.
Why Cleaning Your Cpu Fan Matters
A clean CPU fan does more than just make your computer look good inside. When dust and debris cover the fan blades, they slow down and move less air. This means your processor gets hotter, which can cause:
- Slower performance (your computer feels sluggish)
- Unexpected shutdowns or restarts
- Loud fan noises
- Shorter hardware lifespan
Studies show that even a thin layer of dust can increase CPU temperatures by up to 10°C (50°F). Over months or years, this extra heat can damage sensitive components. Regular cleaning is a simple way to avoid expensive repairs.
Signs Your Cpu Fan Needs Cleaning
You don’t need to be a computer expert to spot a dirty CPU fan. Here are some common signs:
- Loud whirring or buzzing noises from inside your PC
- Frequent overheating warnings or shutdowns
- Visible dust buildup on fan blades or air vents
- Reduced airflow (you feel less air coming out of vents)
- Increased CPU temperatures (check with free software like HWMonitor)
Noticing these signs early can save you time and money.
Credit: www.youtube.com
Tools And Materials You Need
Before you start, gather the right tools to make the process smooth and safe. Here’s what you’ll need:
- Phillips-head screwdriver (to open your PC case)
- Compressed air canister (safe for electronics)
- Small, soft brush (like a clean paintbrush)
- Lint-free microfiber cloth
- Cotton swabs
- Rubbing alcohol (isopropyl, at least 70% if deep cleaning)
- Anti-static wrist strap (optional but safer)
- Vacuum cleaner with brush attachment (optional, for the workspace)
- Tweezers (if you drop any screws)
Having these items ready saves time and helps prevent damage.
Safety First: Preparing To Clean
Many beginners forget that static electricity can damage computer parts. Here’s how to stay safe:
- Turn off your computer and unplug it from the wall.
- Press the power button for 5 seconds after unplugging. This drains any leftover electricity.
- Work on a flat, clean surface with good lighting.
- Wear an anti-static wrist strap if you have one, or touch a metal part of your PC case often to discharge static.
Don’t rush this step—it’s the easiest way to avoid accidental damage.
Opening Your Computer Case
Most desktop computers have a side panel that you remove with a screwdriver. Here’s how:
- Turn your PC so the back is facing you.
- Unscrew the screws holding the side panel.
- Slide or lift the panel off gently.
- Set the panel aside in a safe place.
If you have a laptop, the process is different and may require removing the entire bottom case. Always check your laptop’s manual for instructions, as designs vary.
Locating The Cpu Fan
Inside the case, look for the CPU heatsink and fan. The heatsink is a block of metal fins with a fan on top or beside it, sitting directly over the processor chip. It’s usually near the center of the motherboard. Some computers have more than one fan, but the CPU fan is always attached to the heatsink.
If you’re not sure which fan is which, consult your motherboard manual or look for labels on the fan cables.

Credit: www.reddit.com
Cleaning The Cpu Fan Without Removing It
For basic cleaning, you do not need to remove the fan. This is a good option for beginners or for routine maintenance. Here’s how:
- Hold the fan blades in place with your finger or a cotton swab. This prevents them from spinning and possibly generating static.
- Use a can of compressed air. Spray short bursts of air directly at the fan blades and heatsink fins. Keep the can upright to avoid spraying liquid.
- Brush away stubborn dust with a soft brush. Gently loosen any clumps, then use compressed air again.
- Wipe the surrounding area with a microfiber cloth to remove extra dust.
Repeat until the fan and heatsink look clean. This method keeps dust from getting deeper into the fan motor.
Deep Cleaning: Removing The Cpu Fan
If your CPU fan is very dirty, or if you see sticky grime, a deeper clean is best. Here’s how to safely remove and clean the fan:
- Unplug the fan cable from the motherboard. This is usually a small connector next to the fan.
- Unscrew the fan from the heatsink. Keep the screws in a safe place.
- Lift the fan away gently. Do not force it if it feels stuck.
- Clean the fan blades with a microfiber cloth dampened with rubbing alcohol. Use cotton swabs for small areas.
- Let the fan dry completely before reinstalling.
You can also clean the heatsink while the fan is off. Use compressed air and a brush to clear dust between the fins.
Comparing Cleaning Methods
Here’s a quick look at the pros and cons of cleaning with and without removing the fan:
| Cleaning Method | Pros | Cons |
|---|---|---|
| Without Removing Fan | Quick, safe, no risk of damaging parts | May not remove all deep dust or sticky grime |
| With Fan Removed | Thorough cleaning, reaches all areas | More difficult, risk of damaging cables |
Choose the method that fits your comfort level and how dirty your fan is.
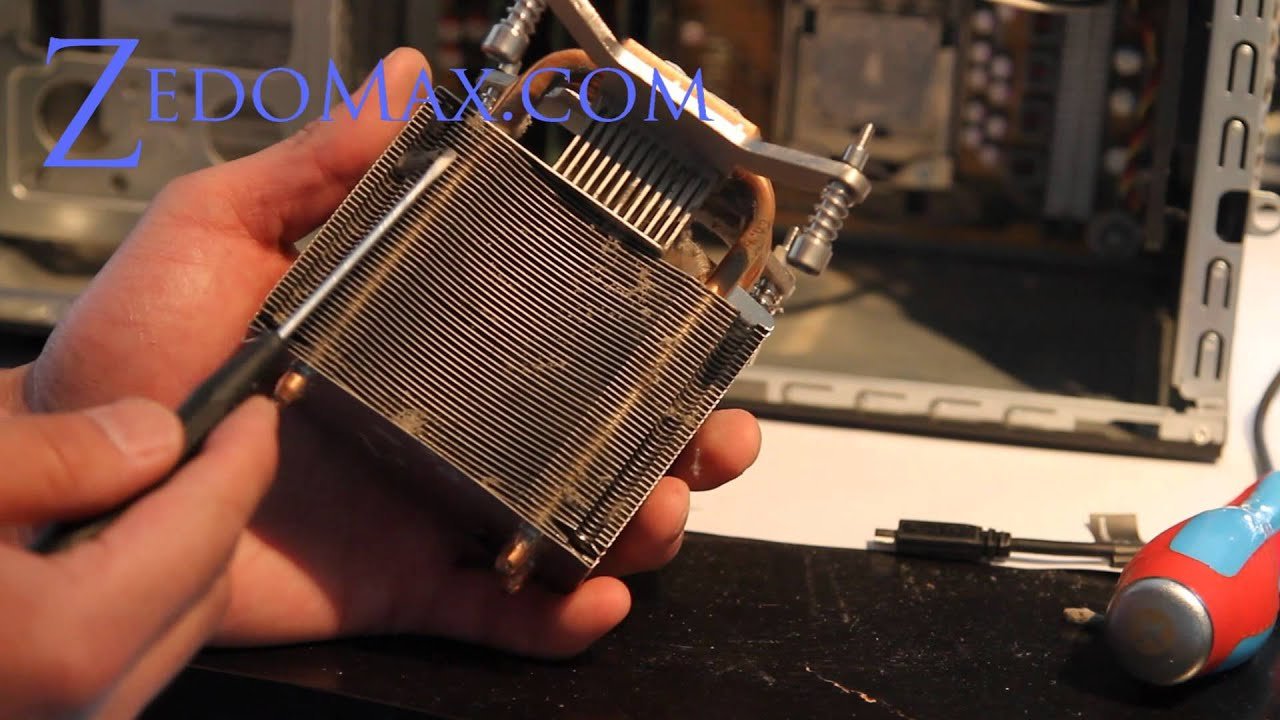
Credit: www.youtube.com
Cleaning The Heatsink
Don’t forget the heatsink under the fan. Dust stuck between the metal fins can block airflow. Use compressed air to blow out dust, and a brush to dislodge stuck dirt. Avoid using liquids on the heatsink unless it’s extremely dirty. If you do, make sure it is fully dry before reassembling.
When To Replace Thermal Paste
If you remove the heatsink or fan, you may see thermal paste—a gray or white paste—on top of the CPU chip. This paste fills tiny gaps, helping heat move from the chip to the heatsink. If it looks dry, cracked, or dirty, it’s best to clean it off and apply a fresh layer. Old or missing thermal paste can cause overheating, even if your fan is clean.
To replace thermal paste:
- Clean the old paste from the CPU and heatsink with a lint-free cloth and rubbing alcohol.
- Apply a small pea-sized dot of new paste to the center of the CPU.
- Reinstall the heatsink and fan.
Thermal paste should be replaced every 2–3 years or if you remove the heatsink.
Reassembling Your Computer
Once your fan and heatsink are clean and dry:
- Reattach the fan to the heatsink with the screws.
- Plug the fan cable back into the motherboard.
- Replace the side panel of your PC and screw it back on.
- Reconnect all cables and power on your computer.
Check that the fan spins smoothly and quietly. If you hear any strange noises, power off and check for loose screws or cables.
Regular Maintenance Tips
Keeping your CPU fan clean doesn’t have to be a big job if you do it often. Here are some tips:
- Clean your CPU fan every 3–6 months if you use your computer daily, or more often if you live in a dusty area.
- Keep your PC off the floor and away from carpets to reduce dust intake.
- Vacuum the area around your computer regularly.
- Use dust filters on your PC case vents if possible.
- Avoid smoking or burning candles near your computer—these add sticky residue.
A small investment in time now prevents bigger problems later.
What Not To Do
Many beginners make simple mistakes when cleaning a CPU fan. Avoid these:
- Don’t use a regular household vacuum inside your PC—it creates static.
- Never use water or harsh cleaners on electronic parts.
- Don’t force the fan blades to spin—they can break easily.
- Never touch the CPU or motherboard circuits with your fingers.
- Don’t forget to reconnect the fan cable before turning on your PC.
A careful approach keeps your computer safe.
How A Clean Cpu Fan Affects Performance
A clean fan does more than reduce noise. It can lower CPU temperatures by up to 10–15°C (50–60°F), especially on older or dusty systems. Lower temperatures mean your CPU can work at full speed without throttling. For gamers or anyone who uses heavy programs, this can improve performance and stability.
Here’s a sample comparison of CPU temperatures before and after cleaning:
| Condition | Idle Temperature | High Load Temperature |
|---|---|---|
| Before Cleaning | 45°C (113°F) | 85°C (185°F) |
| After Cleaning | 35°C (95°F) | 70°C (158°F) |
This drop in temperature can make a real difference in your computer’s speed and lifespan.
Desktop Vs. Laptop Cpu Fan Cleaning
Cleaning a desktop CPU fan is easier than with laptops. Laptops often require removing the bottom panel and can have smaller, more delicate fans. Some thin laptops even have sealed cases, making cleaning impossible without professional help.
Here’s a quick comparison:
| Device Type | Ease of Access | Recommended Frequency | Special Notes |
|---|---|---|---|
| Desktop | Easy to open, large fan | 3–6 months | Most users can clean at home |
| Laptop | Harder to access, small fan | 6–12 months | Check warranty before opening |
If you’re unsure about opening your laptop, check the warranty or contact a technician.
Extra Tips For Keeping Your Cpu Fan Clean
- Use compressed air outside or in a well-ventilated area to avoid breathing dust.
- Label screws as you remove them, especially in laptops.
- Take photos as you go—this helps you remember how things fit back together.
- If you use your computer for gaming or video editing, clean the fan more often.
- Consider using a dust cover when your computer is off for long periods.
These small steps help keep your PC running cool and quiet.
Frequently Asked Questions
How Often Should I Clean My Cpu Fan?
For most users, cleaning every 3–6 months is enough. If your environment is dusty or you have pets, clean more often. Gamers and heavy users should check fans more regularly.
Can I Use A Vacuum Cleaner To Clean The Cpu Fan?
It’s best to avoid using a vacuum directly on computer parts. Vacuums can create static electricity that might damage your hardware. Use a can of compressed air and a soft brush instead.
Do I Need To Replace Thermal Paste Every Time I Clean The Cpu Fan?
No, you only need to replace thermal paste if you remove the heatsink or if the paste looks dry or cracked. For simple cleaning without removing the heatsink, you can leave the paste alone.
What If My Fan Is Still Noisy After Cleaning?
If your fan is clean but still makes noise, it could be worn out or have a failing motor. Check that all screws are tight and the fan is connected properly. If the problem continues, consider replacing the fan.
Is It Safe To Clean My Laptop’s Cpu Fan Myself?
It depends on your laptop model. Some laptops are easy to open, while others are difficult. Always check your warranty and follow the manufacturer’s instructions. If you are unsure, ask a professional.
Cleaning your CPU fan is one of the simplest ways to keep your computer healthy and fast. It doesn’t require expensive tools or expert skills—just a bit of care and patience. Whether you use your PC for work, gaming, or study, a clean fan means a cooler, quieter experience. For more on safe computer cleaning, you can check guides from How-To Geek. With these steps, you can enjoy reliable performance and extend the life of your machine.
Related Office Guides
Continue with these related workspace guides:
